Wednesday, February 2, 2011

New Earrings

Back in October when we were in Kaua’i I found a really unique pair of earrings.  I have been to Hawaii several times and I had never seen any like this.  I loved the Olivine and after thinking about it for a day I decided to go back to the street fair to get them and the matching necklace the morning we flew to Oahu.  I loved them!!  Sadly, a few nights later on a long walk one of my Olivine earrings fell off of the hook.  We had done a ton of walking after dinner.  I knew they had to be at the restaurant we went to for dinner, or somewhere we walked afterward because I had put them in right before we went out to eat and Mike said they were on during dinner.  So, we spent 2 hours re-tracing our steps that night but never found it.  I could have cried!  And I never found any on Oahu to replace them.  I did find a pair of olivine earrings with smaller stones and bought them hoping I could combine them with the larger stones from the earring I had left and create a new pair.  Today during nap time I decided it was time to try to make them.
 Here is the earring I had left.
So I took apart all three earrings and threaded the stones onto two earring posts combining the larger stones with the smaller ones.
I had these posts in a box of beads my Mom gave me from her jewelry making days in high school.  After I had the right amount of stones on I added the earring hooks so I could wear them :)
I think they turned out pretty good especially considering I have never made earrings in my life!
Ah, I love them!  And I certainly hope my craftsmanship was better than the original artisan because I will be crushed if one of them falls off the hook again!
I had so much fun I decided to make another pair!  In the box of beads my Mom gave me when I was a child I found the beads from a broken rosary.  I called my Mom and asked whos it was, but she couldn’t recall.  Anyway, the sparkly blue beads called to me and I needed to make a second pair.  I only had one more pair of hooks left, so I tried out a few designs before I settled on one.
I love how they turned out.  So pretty and sparkly!
I love them!  Don’t mind me holding my hair back out of  my face.  Also, you might notice my wardrobe is different.  After I hugged hubby when he got home from work I noticed I had something icky on my shirt.  Apparently he had saved a little lunch on his jacket and decided to share….how sweet. lol
I went into this project trying to fix/re-create my Olivine earrings and ended up with two new pairs of beautiful earrings :)
I will be linking up to:

Saturday, December 18, 2010

Oma's Brag Book

I ordered a custom scrapbook from a friend to give to my Oma (Grandma) filled with pictures of my adorable baby boy :)  To see the pictures of the book before I added the photos visit my friend's blog here.
 I am sure Oma will be thrilled when when she opens her mailbox to find this little Christmas gift.
 I loved the denim page that is page two.  I sewed the pictures on each side of it :)
 The other side of the denim page.
 I love the clear overlay page!  So fun :)
 My little pumpkin.
And the back of the book with my friend Chrystie's signature and an old passport pic of my baby. 
I love this book.  It is so adorable and was so quick and easy to put together.  It is nice to have a quick project every once in a while :)

Monday, December 6, 2010

Vintage Sheet Music Tree Topper

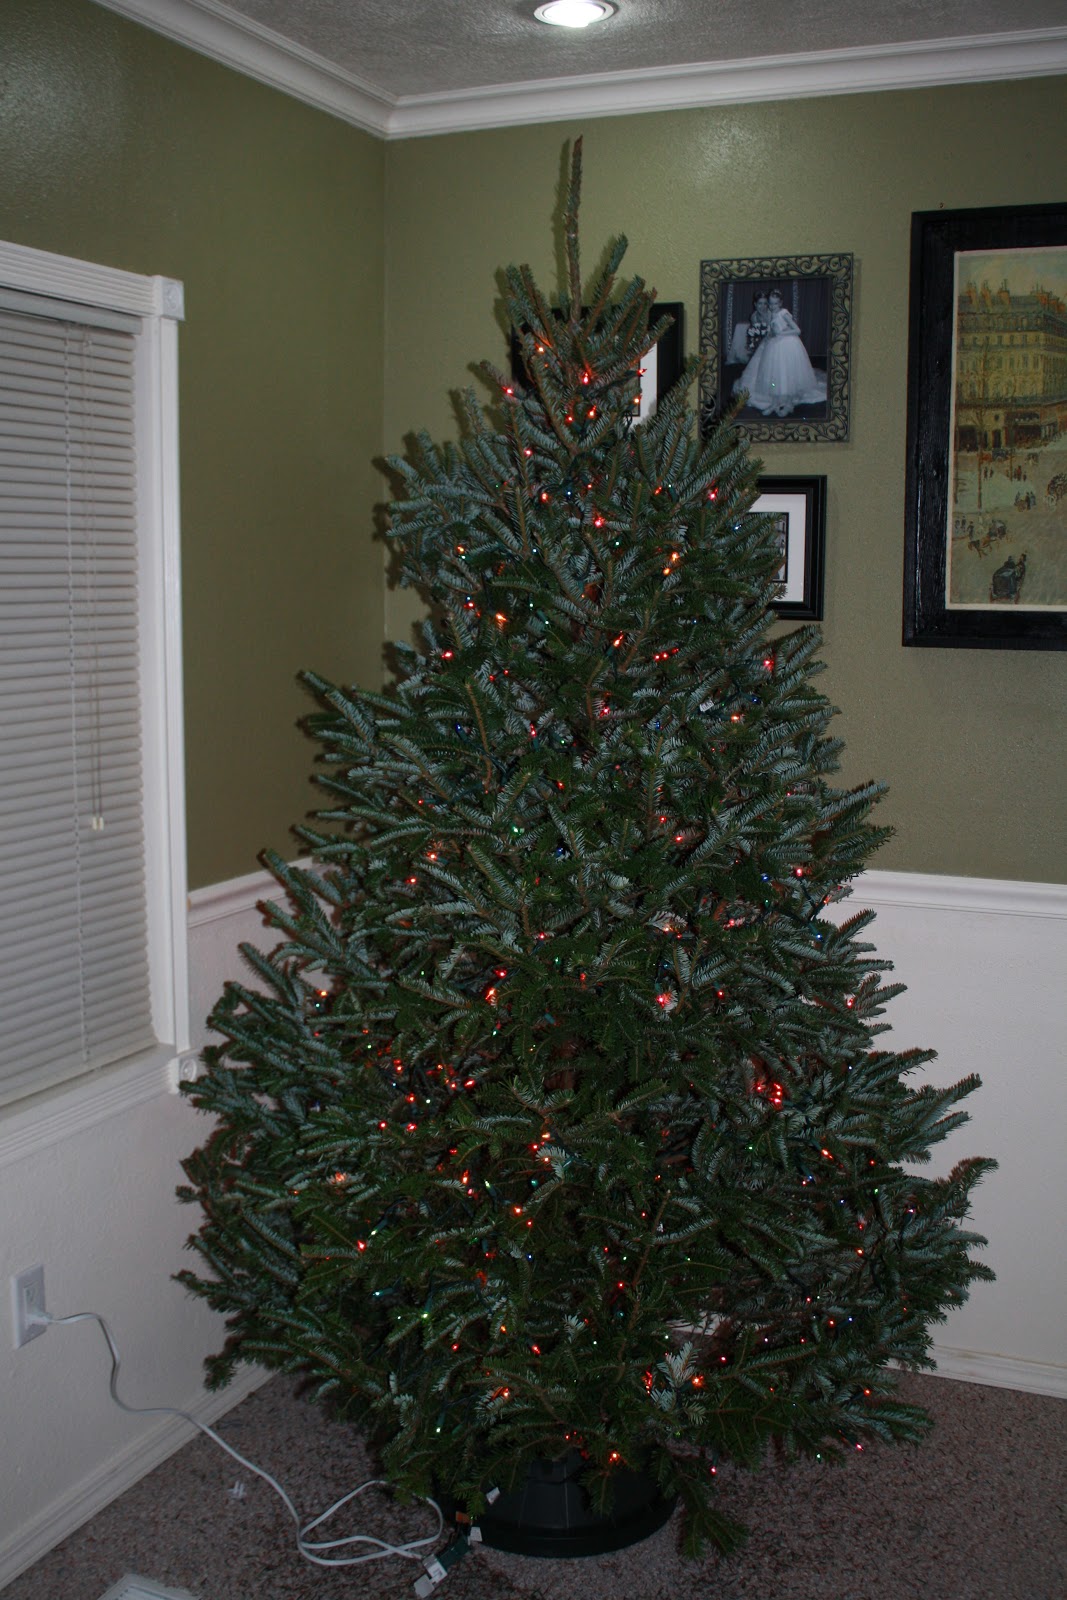
Fresh trees are sooo expensive.  We always buy a Noble Fir, but this year we decided to try a Frasier Fir because it cost considerably less but has a very similar look.  I LOVE it!  It is really pretty and the branches have almost a silvery look in some light.  I was excited to make a new tree topper for it, so last night when we decorated I left the topper off.
 
Tonight this is what I made.
 Last night we put up the tree.  Hubby put the lights on for me.  But I used my flash when I took the picture, so it is hard to tell :)
I decorated.
 Our outdoor kitty was so happy that we have an inside tree :)
 I saw a cool idea on mudpies blog to use book pages to make a tree topper.  Last weekend while enjoying a weekend away with hubby for our anniversary I found a book of sheet music for a couple of dollars in an Antique Mall.  I decided to use it to make my own :)  I have never liked my tree topper, so I really hoped it turned out.  I LOVE it!!!!!
 I inked the edges with chalk ink to add to the vintage look.  I am so happy with the way it turned out!!!!!!!
 So pretty!!!!
The full view.
 Our kitten seems to enjoy the tree as well.
I am SO in LOVE with it!  I am in the process of making a matching wreath, but since it is 2am I think I will finish it up tomorrow :-)
Linking up to:

Thursday, December 2, 2010

Christmas Gifts

Last year was the first time that I can ever remember MAKING gifts as an adult.  I was somewhat leery about it, but ended up LOVING IT!!!!  And everyone who got one of my hand made gifts loved them too!!  This year I am making more gifts than ever, scaling down and spending less.  I am ready to simplify and celebrate Advent and the true meaning of Christmas!!  I am ready to get more creative and make more gifts.  I recently posted a good stocking stuffer idea about making lip balm.  Another idea I heard this week was to buy a favorite children's book for your grandchild, neice, nephew, etc and record yourself reading the story so they can listen and follow along whenever they want!
Here is something I made for my son.  He is only 14 months and still too young for it, but I couldn't resist making if for him!  I will save it for his second birthday, but if you have toddler in your life who is the right age, this would make a great and inexpensive, adorable Christmas gift!
A hand made matching game!  I love it, it is SO cute!  Hubby drilled two holes in the back and I plan on hanging it on the wall in the nursery at some point when it is not 3:17am :)
 I found this frame at Ben Franklin over the summer on a huge sale and painted it blue to match the nursery.
 They also had these neat 12x12 metal sheets that fit perfectly inside the frame.  My awesome hubby attached it with some industrial strength silicone something or another.  He is a contractor :)
 Now to the fun part!!  I already had this really cute ABC paper with a different animal on every letter.
 I bought the matching set of chipboard so I had a thick duplicate of all of the animals.
 I Mod Podged them for added durability.
 And stuck magnets on the back of all of the animals.
 Now I have a super adorable magnetic matching game for my son to play and learn with when he gets a little older.  I didn't adhere the ABC paper to the sheet metal because the magnets hold it there just fine, and that way I can make him more matching games in the future.

I love the fat little elephant and frog!
 I cut ABC and 123 out of vinyl on my cricut and added them to the top and bottom of the frame.
I just finished this project tonight and I am sooooo proud of it.  It turned out really cute!!!!
Edited to add, now that it is not 3:17am I managed to get it hung in my son's turtle nursery.
 So happy I finally finished it and got it off of my scrapbooking desk!
 A super cheep Christmas gift.  I bought these metal re-usable drinking bottles at Wal-Mart for $1 each.  Then I grabbed my cricut vinyl and got to work cutting out words!!  On this one I wrote my little brother's name at an angle in a circle around the bottle and put a star at the end.  The one for my teenage brother is already wrapped, so sadly I can not show you, but I wrote his name in a straight line with Class of 2011 under it.  I used a silver water bottle and black vinyl.  I LOVE how it turned out and I think he will like it.  Great $1 gift!!!!
Linking up to:

Thursday, November 11, 2010

Spray Paint Transformations!!

Today's post is about what I accomplished during nap time today.  No pictures of mopping the floor or scrubbing the toilet?  Weird! Nope, today I needed to get some crafty energy flowing!!
Today I needed a change and I was getting really tired of my fall decor.  So I dismantled the table top fall display and was left with the pumpkins.  Not wanting to toss them yet with Thanksgiving around the corner, I considered spray painting them white like I have seen others do before adding the lettering, but decided to leave them orange (for now, lol.  There is always tomorrow for spray painting!).  I put them on the ledge of one of my favorite DIY projects from this spring.
Give Thanks up on my Dining Room chalkboard :)

  My friend teased me about it today when she stopped by before we went out for coffee , but I really like and that is what counts, right?
Next it was time for a goodwill frame re-do.  I bought it in the spring and mentioned that I had an unconventional idea for it here.  Unfortunately having Mommy Brain and I have absolutly no idea what that fabulous idea was!  But today it got a re-do as a frame again, just with a MUCH better picture!  And a new coat of paint.
When my friend did Jeremaih's 10 month old photo shoot this summer she did some family pictures and some hand and feet pictures too.  This is one of my favorites!!  I just ripped out the old picture, spray painted the frame with the very last little bit of black spray paint I had and plopped this enlargement I had inside.  LOVE!  Quite a transformation huh?  I would say I prefer the after to the before!  So worth the $2.99 price tag I bought the frame for months ago!
 I had some suction cups with hooks, so I decided to try putting it on the fall decorated window in my living room.  So far so good, it has been up there all day, so I think it will hold.  I love it!!
 Since I was paring down my fall decorations and simplifying I decided it was time to put this fall candlestick away.  I was bummed because I have very few chunky candle holders but brown isn't really my color for things other than fall decor.  Then inspiration struck!
Why not change the color????
Heirloom white, how I adore thee!
It looks so vintage now and the white really brings out all of the pretty details.  I like it so much better and it will be used much more than once a year in my fall decor!  So worth the under $3 thrift shop I paid last fall!!!
 I am so pleased with how it turned out!  And look, there is even a tiny bit of fall left on the table.  :)  A vase of colorful leaves.  And that is what I accomplished during nap time today!
Linking up to:

Monday, November 8, 2010

New Life for an Old Window

Still finishing up those projects I started before I went to Uganda.  It feels so good getting stuff done!  Like spring cleaning, but it happens to be fall.  Anywho, before I left for Africa to meet my precious son I painted this old window Mike had brought home from a job site knowing I would love to find a creative use for it.  I decided I wanted to paint it black and put pictures of my precious baby in it behind the glass.  Unfortunately I didn't have a ton of pictures of him at that point and all of the ones I had were in frames around the house.  I decided to wait until I had more pictures to finish it.  I blogged about this particular window less than two weeks before I left.  You can read about it here.
 I painted the window black (after a terribly ugly attempt at distressed green.  It was horrid and I refuse to re-post it, so if you want to see it you will have to go to the link to the original post above!).
 I love the way the black looked.  That is the best part about a painted project.  If you hate it you can always re-paint it!
 I left the original hardware on top of the window and at the bottom I added some decorative hooks to hang mementos or holiday decorations from.  When we move, if I decide to hang it in the entry or mudroom we could hang coats and umbrellas from it.  The options are endless!
 For this house I decided to hang it in the staircase that has been getting a makeover.
 I am really loving it!  It is my new favorite up-cycled project at the moment!
 It holds adorable pictures of my little man from his 10 month photo shoot right after we finally got home from Africa.
 Such a stinkin' cute little baby and I love the original way to display his precious photos!
Linking up with: